
How to Display Art Prints: Creative Ideas for Every Home
Displaying art prints effectively means choosing hanging methods, hardware, and placement strategies that match your wall type, print size, and interior style. Whether you’re working with a bare living room wall or a rented apartment you can’t drill into, the right approach transforms a flat print into a focal point. This guide covers everything from picture hooks and French cleats to ledges, easels, and layered arrangements, so you can build a display that feels personal, polished, and built to last.
How to display art prints: tools and materials you need first
The hardware you choose determines whether your print hangs safely for years or crashes to the floor in a week. Hanging hardware should be rated above the actual weight of the artwork, not just equal to it, to account for vibration, humidity shifts, and wall variation. That single rule prevents most display failures.
Your core toolkit breaks down by wall type and print weight:
- Picture hooks with nails: Best for drywall with lightweight to medium prints (under 20 lbs). One nail at a 45-degree angle holds more than a straight-in nail.
- Wall anchors: Required for heavy frames or any print hung without hitting a stud. Plastic expansion anchors work for medium loads; toggle bolts handle anything heavier.
- French cleats: A two-piece interlocking system cut at 45 degrees. Ideal for large canvas prints or gallery walls where you want to reposition pieces without re-drilling.
- Command strips (adhesive strips): Rated for specific weights per strip. Work on smooth painted drywall, tile, and glass. Not reliable on textured walls or brick.
- Sawtooth hangers: Pre-attached to many ready-made frames. Reliable for prints under 10 lbs on drywall.
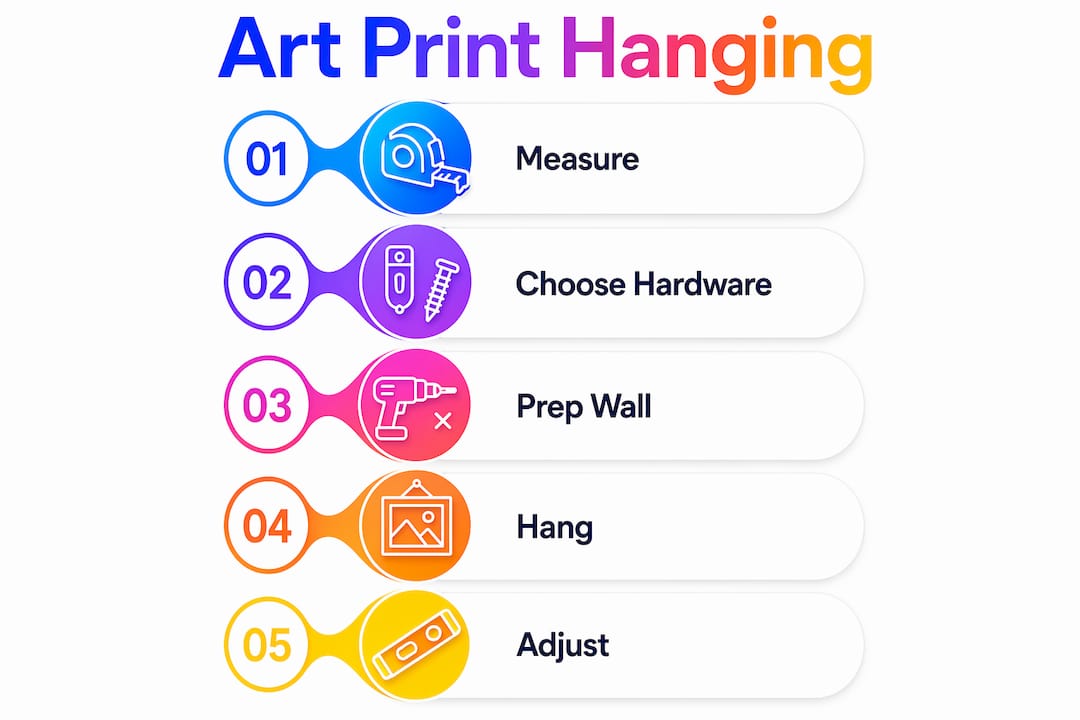
For measuring and prep, you need a tape measure, a bubble level, and painter’s tape. The painter’s tape trick is underused: cut a piece to match the frame’s width, mark the hook point on the tape, then stick it to the wall at your target height. You see exactly where the nail goes before you commit.
| Wall type | Recommended hardware | Max print weight |
|---|---|---|
| Drywall (with stud) | Picture hook or screw | 50+ lbs |
| Drywall (no stud) | Wall anchor or toggle bolt | 20–50 lbs |
| Plaster | Plaster hook or anchor | 20–30 lbs |
| Tile or glass | Adhesive strips | Up to 16 lbs |
| Brick or concrete | Masonry anchor and screw | 50+ lbs |
Pro Tip: Buy hardware rated at least 25% above your print’s actual weight. A frame listed at 8 lbs should hang on hardware rated for 10 lbs or more.
What are the best ways to hang art prints on walls?
The single most common mistake in residential art display is hanging prints too high. Center your artwork at 57 to 60 inches from the floor to the print’s visual center. This matches average eye level and is the standard used in galleries worldwide. That said, adjust for room context: in a low-ceilinged room or a child’s bedroom, drop the center point by a few inches.
Follow these steps for a clean, level hang every time:
- Decide on placement. Hold the print against the wall and step back. Use painter’s tape to outline the frame position on the wall before touching a nail. This lets you live with the placement for a day before committing.
- Mark the hook point. Measure from the top of the frame to the hanging hardware (wire or D-ring). Subtract that distance from your target height to find where the nail goes.
- Transfer D-ring positions accurately. For two-hook hangs, press painter’s tape across the back of the frame over both D-rings, mark each ring’s position on the tape, then transfer the tape to the wall. This guarantees the hooks are perfectly spaced.
- Drive the hardware. Use a level to confirm your marks are horizontal before drilling or nailing.
- Hang and check. Place the frame, then use a level across the top edge. Two hooks spaced to the D-rings prevent the tilting that single-hook hangs cause over time.
For grouped displays, spacing matters as much as placement. Maintain 2 to 3 inches between frames in a gallery wall to keep the arrangement cohesive without looking crowded. Treat the entire grouping as one object: center the group at eye level, not each individual piece.
Avoid hanging paper-based prints in bathrooms or near south-facing windows without UV-protective glazing. Direct sunlight and high humidity degrade paper and ink faster than almost any other environmental factor.
Pro Tip: Stick small adhesive felt pads to the bottom corners of your frame before hanging. They prevent the frame from swinging and protect your wall’s paint finish.
How can you display art prints without damaging walls?
Renters and frequent redecorators have more options than most people realize. The best damage-free art print display ideas rely on physics (leaning, gravity, friction) rather than fasteners.
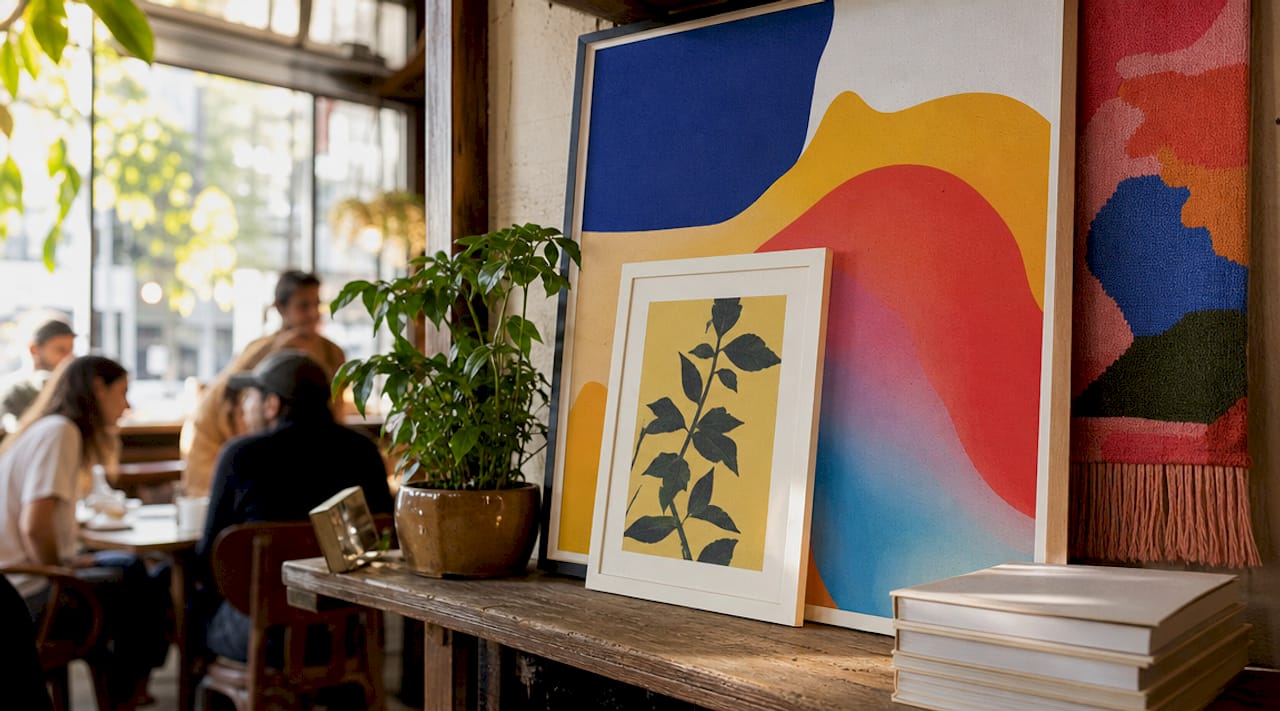
Leaning art is the most underrated method in residential interiors. Leaning artwork on mantels, console tables, or directly on the floor creates a layered, curated look that feels intentional rather than unfinished. A large print leaned against a wall behind a console table, with a smaller framed piece and a plant in front, reads as a styled vignette rather than a placeholder.
Picture ledges solve the renter’s core problem: you install them once (two screws per ledge) and then rotate art freely without new holes. Ledges allow easy art rotation and support layered arrangements where prints overlap slightly for depth. IKEA’s Mosslanda ledge and similar options from Target and CB2 hold prints up to 11 lbs per shelf.
For a completely hole-free approach, consider these options:
- Command strips: Press firmly for 30 seconds per strip, then wait 60 minutes before hanging to let the adhesive bond fully. Removing them correctly (pulling the tab straight down slowly) leaves walls intact.
- Clipboards and binder clips: Mount a clipboard on a single nail or adhesive hook, then swap prints in seconds. Works especially well for smaller prints, postcards, and paper art in studios or home offices.
- Freestanding easels: A wooden or metal easel turns any print into a floor-level focal point. Best for oversized prints (24x36 inches and larger) that would require heavy-duty wall hardware otherwise.
Check out Colormelt’s damage-free wall decor checklist for a room-by-room breakdown of which methods work best in each space.
Pro Tip: When leaning multiple prints, vary the sizes deliberately. A tall narrow print next to a wide horizontal one creates visual tension that makes the arrangement feel designed rather than accidental.
What creative art print display ideas enhance your interior design?
The difference between a wall that looks decorated and one that looks designed comes down to layering, lighting, and the relationship between art and furniture. These art print display ideas go beyond the basics.
Layering prints for depth
Overlapping smaller prints in front of larger framed pieces on a ledge or console adds the kind of depth you see in editorial interiors. The key is scale contrast: the front piece should be at least 30% smaller than the piece behind it. Add a sculptural object or a small plant between them to break up the flatness.
Gallery wall layouts that actually work
Gallery walls fail when spacing is inconsistent or the arrangement has no visual anchor. The three layouts that work reliably are:
- Grid: Identical frames in rows and columns. Works best with a consistent theme (black-and-white photography, botanical prints). Spacing should be uniform at 2 to 3 inches.
- Salon style: Mixed sizes arranged around a central large piece. The center piece should be the strongest image. Build outward from it, keeping the outer edges roughly rectangular.
- Linear: A single horizontal row at eye level. Suits hallways and spaces above long furniture like sofas or beds.
Mixing media for dynamic walls
Pairing canvas prints with framed paper prints, textile wall hangings, and even mirrors creates a wall that rewards close looking. Incorporating personal and handmade elements alongside commercial prints makes a display feel authentic rather than catalog-assembled. A Colormelt weave-design canvas next to a framed travel photo and a small ceramic wall piece reads as a collection, not a purchase.
Lighting your art correctly
Directional lighting doubles the visual impact of any print. Picture lights (mounted directly on the frame) work for single statement pieces. Adjustable track lighting or recessed spotlights work for gallery walls. Warm white bulbs (2700K to 3000K) bring out warm tones in abstract and floral prints without washing out cooler palettes. For more ideas on integrating prints with your overall interior scheme, Colormelt’s guide to canvas print styling tips covers current approaches room by room.
Key takeaways
Choosing the right combination of hardware, placement height, and display method determines whether your art prints look intentional or afterthought.
| Point | Details |
|---|---|
| Hardware rated above print weight | Always choose hooks or anchors rated at least 25% above your artwork’s actual weight. |
| Eye-level placement at 57 to 60 inches | Center prints at this height as a baseline, then adjust for room height and context. |
| Damage-free options for renters | Ledges, adhesive strips, leaning, and easels all work without permanent wall damage. |
| Gallery wall spacing | Keep 2 to 3 inches between frames to maintain visual harmony in grouped displays. |
| Layering creates depth | Overlap smaller prints in front of larger ones on ledges or consoles for a styled look. |
What I’ve learned from getting art display wrong first
I spent years hanging art too high. Every room I styled in my early career had prints floating near the ceiling because I was treating wall space like a canvas to fill rather than a room to live in. The 57-inch rule fixed that, but what really changed my approach was understanding that art display is furniture arrangement by another name. The print doesn’t exist in isolation. It exists in relationship to the sofa below it, the lamp beside it, and the person standing in front of it.
The other mistake I see constantly is treating a display as permanent. People hang something, decide it’s done, and never touch it again. The best-looking interiors I’ve encountered treat art like a rotating collection. Swap one piece per season. Move a print from the bedroom to the hallway. Lean something new on the mantel. The room stays alive.
I’d also push back on the idea that gallery walls require a plan drawn on paper before you start. The painter’s tape method is better. Tape out every frame on the wall, live with it for 48 hours, then adjust before a single nail goes in. You’ll catch problems that no floor sketch reveals, like the way a grouping competes with a window or crowds a doorway.
Finally, don’t underestimate the power of one large print over a collection of small ones. A single 24x36 canvas with strong color and composition does more for a room than six mismatched 8x10s. Start with one statement piece, then build around it if you want more.
— Shlomo
Bring your walls to life with Colormelt
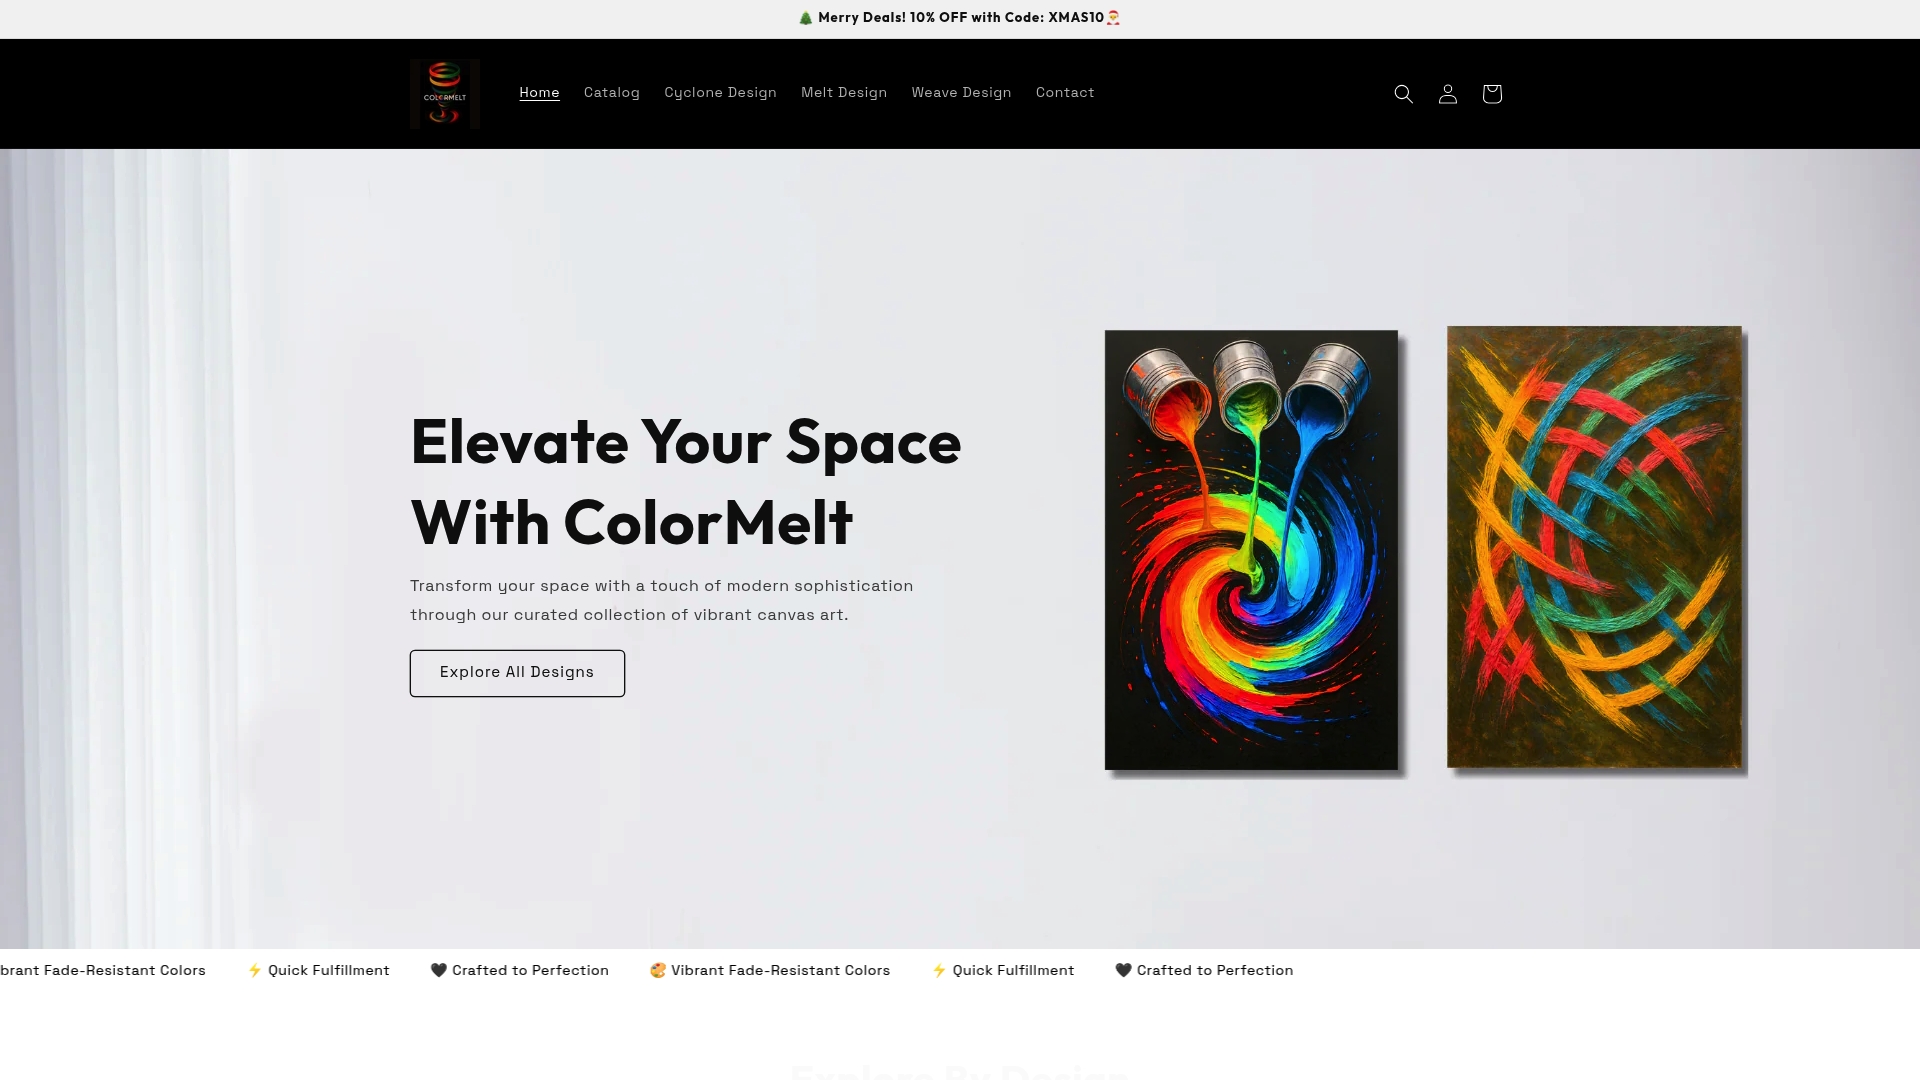
Colormelt designs wall art specifically for homeowners who want prints that hold up visually and physically over time. The collection spans abstract canvas prints, weave-design wall hangings, acrylic prints, and framed artwork in palettes built around color contrast and modern motifs. Every piece uses fade-resistant inks, so the print you hang today looks the same five years from now. Browse the full wall art collection to find pieces that fit your space, whether you’re building a gallery wall, styling a console, or looking for one statement piece that anchors a room. If you want something with genuine texture and visual movement, the weave design wall hanging is worth a close look.
FAQ
What height should art prints be hung at?
Center art prints at 57 to 60 inches from the floor to the print’s visual midpoint. This matches average eye level and is the standard used in professional galleries.
How do you hang art prints without damaging walls?
Use Command adhesive strips (pressed firmly for 30 seconds, set for 60 minutes before hanging), picture ledges, or lean prints on furniture. Freestanding easels work for large prints with no wall contact required.
What is the best way to arrange a gallery wall?
Choose a layout (grid, salon style, or linear), keep spacing consistent at 2 to 3 inches between frames, and center the entire grouping at eye level rather than centering each individual piece.
How do you keep art prints from fading?
Avoid hanging paper-based prints in direct sunlight or high-humidity rooms like bathrooms. Use UV-protective glazing in frames, or choose media like acrylic or canvas prints that resist fading more effectively than paper.
Do you need to frame art prints before displaying them?
Framing is not required. Prints can be displayed on ledges, clipped to clipboards, leaned on furniture, or mounted on canvas without a traditional frame. Framing adds protection and a finished look, but unframed prints work well in casual or layered arrangements.