
Your Wall Decor Checklist for Damage-Free Stylish Walls
A wall decor checklist is a planning tool that matches your art, mirrors, and shelves to the right hanging method based on wall type and item weight, so you protect your walls and achieve a cohesive look from day one. Whether you rent or own, skipping this step leads to crooked frames, failed adhesives, and paint damage that costs real money. The checklist format forces you to think before you drill, tape, or nail. This guide walks you through every item on that list, from identifying your wall surface to spacing your gallery wall at the correct eye level.
1. Your wall decor checklist starts with item identification
The first step in any decorating checklist is knowing exactly what you plan to hang. Art prints, mirrors, floating shelves, tapestries, clocks, and curtain rods each carry different weights and require different hardware. A lightweight canvas print and a heavy mirror are not the same problem, and treating them as such is where most hanging projects go wrong.
Start by listing every item you want to display, then estimate the weight of each one. Items over 20 lbs are difficult to hang without causing wall damage, especially in rental properties. For those heavier pieces, picture ledges and leaning against furniture are your safest options. Group your list into three weight categories: under 5 lbs, 5 to 20 lbs, and over 20 lbs. This single step determines every hardware decision that follows.
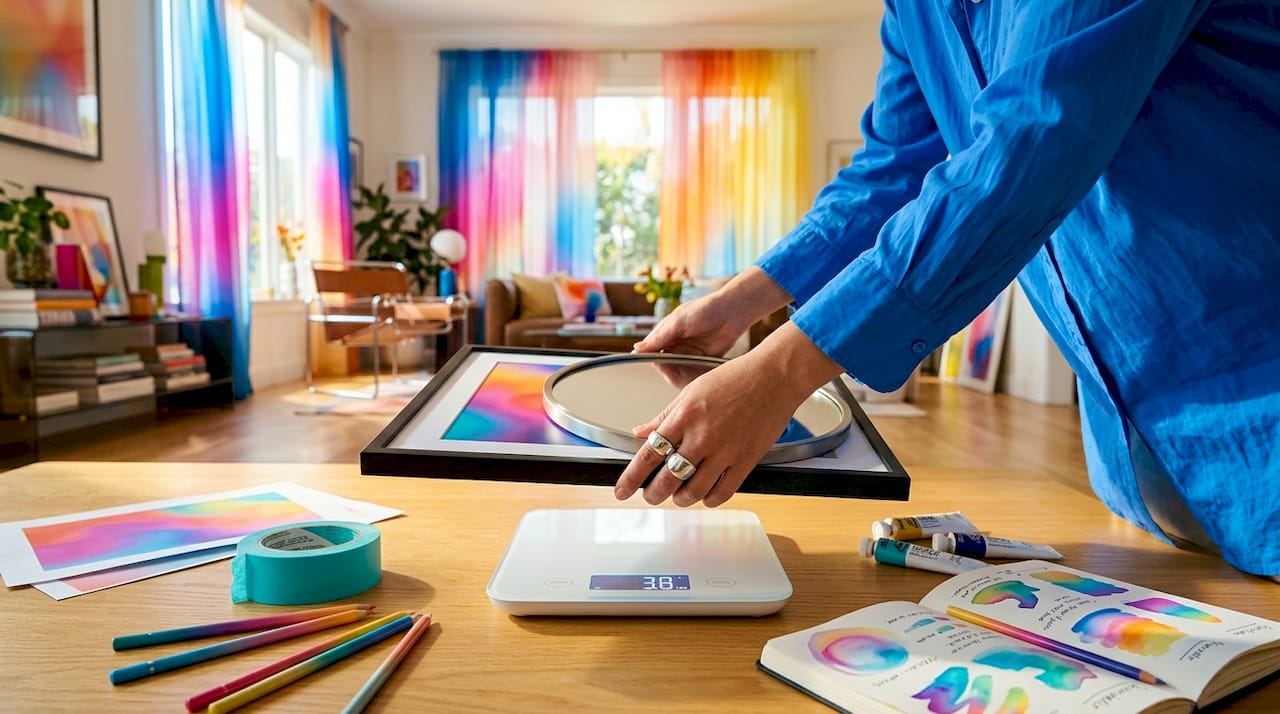
Pro Tip: Weigh items on a bathroom scale before you buy any hardware. Guessing the weight of a framed mirror is how people end up with a hole in the wall and a lost security deposit.
2. Identify your wall surface before buying any hardware
Wall material identification is the most skipped step in any interior design guide, and it causes more failures than any other mistake. Drywall, plaster, brick, tile, and wood panels each respond differently to nails, adhesives, and anchors. Hanging a Command Strip on a textured brick wall will fail within days because adhesive contact is minimal on rough surfaces.
Test your wall by tapping it lightly. A hollow sound indicates drywall. A solid, dense sound suggests plaster or concrete. Brick and tile are visually obvious, but the grout lines matter for clip placement. Wall textures like orange peel and knockdown reduce adhesive contact area and holding power significantly, which means smooth drywall is the only surface where adhesive strips perform at their rated capacity.
Before any hanging method, wipe the wall with isopropyl alcohol. Cleaning improves adhesive bond strength by up to 40% by removing dust, oils, and chemical residues left from paint. Do not use all-purpose cleaners or water. They leave residue that actively weakens adhesive bonds.
3. Match your hanging method to wall type and item weight
This is the core of any wall art buying checklist. The right hardware for the wrong wall is still the wrong hardware. Here is a direct comparison of the most common hanging methods:
| Method | Best wall type | Max weight | Renter safe? |
|---|---|---|---|
| Command Strips (adhesive) | Smooth drywall | 16 lbs per pair | Yes |
| Monkey hooks | Drywall | 30 lbs | Leaves small hole |
| Small finish nails | Drywall, wood panels | 20 lbs | Minor damage |
| Brick clips | Brick | 25 lbs | Yes |
| Picture ledges | Any surface | Unlimited | Yes |
| Tension rods | Door/window frames | Curtains only | Yes |
Modern adhesive strips hold up to 16 lbs per pair on smooth drywall, and stacking multiple pairs increases that capacity proportionally. The manufacturer weight rating is not a suggestion. Exceeding it does not just risk the frame falling. It risks pulling paint off the wall in a sheet.
Picture ledges rest on the floor and require zero wall contact for the artwork itself. You mount a shallow shelf with two small screws, then lean any weight of art against the wall. Layering multiple ledges at different heights creates a gallery wall effect with no adhesive risk at all. For renters, this is the single most flexible solution on the list.
Pro Tip: When using adhesive strips, press each strip firmly for 30 seconds and wait a full hour before hanging anything. Skipping the wait time is the number one reason adhesive strips fail on day one.
4. Plan your layout on the floor before touching the wall
Gallery wall planning is where most people waste the most time and cause the most unnecessary damage. Planning your layout on the floor and photographing it before installation prevents the repeated repositioning that destroys adhesive bonds and leaves ghost marks on walls.
Lay all your frames on the floor in the arrangement you want. Adjust until you are satisfied, then photograph it from directly above. That photo becomes your reference during installation. You will not need to guess, eyeball, or reposition anything on the wall.
The spacing rules for a gallery wall are specific and worth memorizing:
- Keep 2 to 3 inches between individual frames for a tight, curated look.
- Leave 6 to 10 inches of space above furniture like sofas or console tables.
- Center the entire gallery composition at 57 to 60 inches from the floor, not each individual frame.
- Aim to cover 50 to 70% of the wall area. Too little art looks sparse. Too much looks cluttered.
- Choose a layout style before you start: grid for precision, salon for organic layering, or a visible shape like a rectangle or diamond for structured impact.
Gallery walls work best as unified compositions centered at eye level rather than as collections of individually placed frames. That distinction changes everything about how you measure and mark your wall.
Pro Tip: Cut paper templates of each frame, label them, and tape them to the wall with painter’s tape before committing to any hardware. You can shift the entire composition in seconds without leaving a mark.
5. Prepare surfaces correctly for adhesive success
Surface preparation is not optional. Skipping proper wall cleaning leads to adhesive failure and paint damage, which is exactly the outcome a wall hangings essentials checklist is designed to prevent.
Here is the correct preparation sequence for adhesive hanging:
- Wipe the wall with isopropyl alcohol on a clean cloth. Let it dry completely before applying any adhesive.
- Do not hang on freshly painted walls. Paint takes several weeks to fully cure, and adhesives applied too early will pull the paint off when removed.
- Press adhesive strips or hooks firmly for 30 seconds per strip. Use your palm, not your fingertips, to apply even pressure across the full surface.
- Wait one hour after applying strips before loading them with any weight.
- Never reposition an adhesive strip once it has made contact with the wall. The bond degrades immediately on the first repositioning.
Removal is just as important as installation. Pull stretch-release tabs straight down parallel to the wall surface, slowly and steadily. Pulling at an angle or pulling quickly tears paint. If you are removing adhesive from wallpaper, use a hair dryer on low heat to soften the adhesive before pulling.
Test a small adhesive patch in an inconspicuous corner before committing to a full gallery wall installation. Some paint formulas, particularly flat or matte finishes, are chemically incompatible with adhesive strips regardless of how well you prepare the surface.
6. Organize your checklist with tools and avoid common mistakes
A wall decor checklist only works if it is organized well enough to use during installation. The most common mistake is treating it as a mental list rather than a written one. The second most common mistake is hanging frames too high because the installer centered each frame at eye level instead of centering the entire composition.
Use painter’s tape, paper templates, or a digital room planner app to map frame placement before marking the wall. Mark the center point of each hanging location with a small pencil dot, not a pen. Measure twice before making any mark. Consistent spacing and alignment between frames is what separates a professional-looking gallery wall from a random collection of frames.
Practical organization tips for your decorating checklist:
- List every item with its dimensions and weight before shopping for hardware.
- Note the wall surface type for each planned hanging location.
- Record the hanging method selected and the hardware quantity needed.
- Mark whether each item needs a single hook, two hooks, or a ledge.
- Flag any walls that are freshly painted or textured for special handling.
Choose lightweight frame materials like aluminum or thin wood over heavy ornate frames when you are using adhesive hanging methods. A lighter frame with the same visual impact gives you more flexibility and a larger safety margin on your adhesive weight rating. For styling with canvas prints, lightweight construction is already built in, which makes canvas one of the most checklist-friendly formats available.
Using furniture like console tables or mantels to lean large pieces is an underused solution that eliminates wall contact entirely for oversized art. It also allows you to swap pieces seasonally without touching the wall at all.
Key takeaways
A wall decor checklist works because it forces you to match item weight, wall surface, and hanging method before installation, which prevents adhesive failure, wall damage, and wasted time.
| Point | Details |
|---|---|
| Identify items and weights first | Categorize everything under 5 lbs, 5 to 20 lbs, and over 20 lbs before buying hardware. |
| Test and clean wall surfaces | Use isopropyl alcohol to clean walls before adhesive application to improve bond strength by up to 40%. |
| Match hardware to wall and weight | Adhesive strips work on smooth drywall up to 16 lbs per pair; picture ledges work on any surface at any weight. |
| Plan layout on the floor | Photograph your floor arrangement before installation to avoid repositioning adhesives on the wall. |
| Center the gallery, not each frame | Place the entire composition at 57 to 60 inches from the floor for a professional, balanced result. |
Why I think most people skip the most important step
by Shlomo
After helping dozens of people plan their walls, the pattern is always the same. Everyone wants to talk about which art to buy and which colors to choose. Almost nobody wants to talk about wall surface testing. That is the step that determines whether the whole project succeeds or fails, and it takes about two minutes.
I have seen beautiful gallery walls collapse because someone applied Command Strips to a knockdown-textured wall without testing first. The strips looked fine for three days, then pulled a strip of paint off a 6-foot section of wall. The art was fine. The wall was not.
The other thing I have learned is that picture ledges are genuinely underrated. Most people think of them as a compromise solution for renters who cannot drill. They are actually the most flexible display system available to anyone. You can swap art in seconds, layer multiple ledges for depth, and display pieces of any weight without a single calculation. For a colorful wall art rotation that changes with the seasons, ledges are the only system that makes that practical.
The checklist itself is not the point. The point is that writing things down forces you to slow down and think before you commit. Every time I have skipped the checklist and trusted my instincts, I have regretted at least one decision. Every time I have used one, the installation goes cleanly on the first attempt.
Small changes to your walls create disproportionately large shifts in how a room feels. A single well-placed piece of art at the correct height changes the entire perceived scale of a room. That is worth the 20 minutes it takes to do the checklist properly.
— Shlomo
Start your wall decor checklist with Colormelt’s art collection
Colormelt’s wall art collection is built for exactly the kind of intentional decorating this checklist describes. Every piece ships ready to hang, with lightweight construction that works with adhesive strips, picture ledges, and standard hooks without exceeding weight limits. The catalog covers abstract, weave, cyclone, and floral designs in fade-resistant formats including canvas prints, acrylic prints, wood prints, and framed artwork. If you are building a gallery wall or replacing a single statement piece, browsing Colormelt’s collection is a practical first step. For something with real texture and visual weight, the weave design wall hanging is a standout option that works beautifully on picture ledges.
FAQ
What is a wall decor checklist?
A wall decor checklist is a planning document that lists every item you want to hang, its weight, the wall surface type, and the correct hanging method for each combination. It prevents adhesive failures, wall damage, and misaligned layouts before installation begins.
How do I hang wall art without damaging walls?
Use adhesive strips like Command Strips on smooth drywall for items under 16 lbs per pair, picture ledges for heavier pieces, and brick clips for brick walls. Always clean the wall with isopropyl alcohol first and wait one hour after applying adhesive before loading any weight.
How high should I hang wall art?
Center the entire gallery wall composition at 57 to 60 inches from the floor, not each individual frame. For single pieces above furniture, leave 6 to 10 inches of space between the top of the furniture and the bottom of the frame.
How much wall space should art cover?
A gallery wall arrangement should cover 50 to 70% of the available wall area. Less than 50% looks sparse and disconnected. More than 70% creates visual clutter that overwhelms the room.
Can renters use adhesive strips safely?
Yes, with the correct preparation. Clean the wall with isopropyl alcohol, press each strip for 30 seconds, wait one hour before hanging, and remove by pulling the stretch-release tab straight down parallel to the wall. Avoid freshly painted walls and textured surfaces where adhesive contact is limited.