

Step by Step Wall Decor: Your Complete How-To Guide
Step-by-step wall decor is the process of planning, preparing, and installing personalized wall displays that transform any room into a cohesive, gallery-quality space. The industry standard for this process centers on three professional techniques: gallery eye-level centering at 57–60 inches from the floor, consistent 2–3 inch spacing between frames, and the kraft paper template method used by professional installers. Whether you are building a salon-style gallery wall or hanging a single statement piece, following a structured process separates polished results from crooked, patchy walls. Colormelt’s approach to wall art starts with this same foundation: plan first, hang second.
What tools and materials do I need for a step-by-step wall decor project?
The right tools make the difference between a frustrating afternoon and a clean, professional result. You need a tape measure, a level, painter’s tape, a pencil, scissors, kraft paper, a hammer, and picture hooks or nails. For mounting hardware, choose based on frame weight: adhesive strips handle lightweight frames under 5 pounds, while standard picture hooks support medium frames up to 20 pounds, and wall anchors are required for anything heavier.
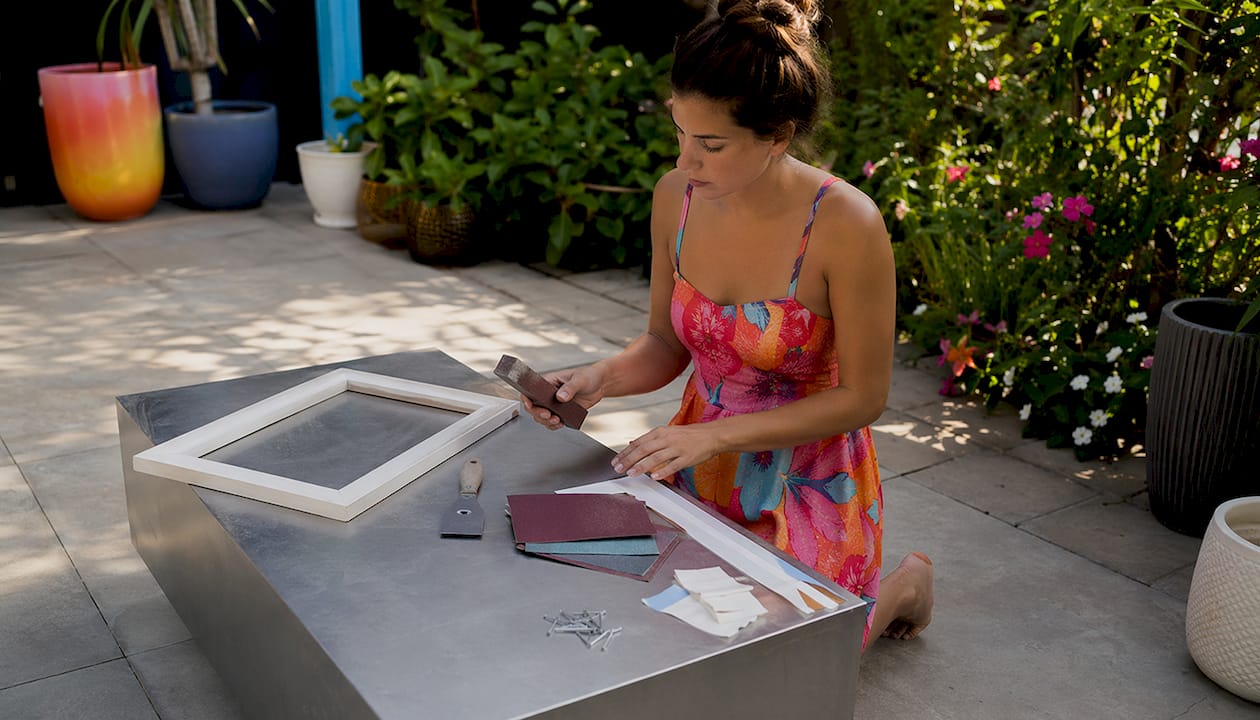
Wall preparation materials matter just as much as hanging hardware. Stock patching compound, sandpaper, and primer before you start. Proper wall preparation including cleaning, patching, and priming improves paint adhesion and the long-term durability of your hanging system.
| Hardware type | Weight capacity | Best wall type |
|---|---|---|
| Adhesive strips | Up to 5 lbs | Drywall, painted surfaces |
| Standard picture hook | Up to 20 lbs | Drywall with stud nearby |
| Hollow wall anchor | Up to 50 lbs | Drywall without stud |
| Screw into stud | 50+ lbs | Any wall with wood stud |
Pro Tip: If you rent your home, use damage-free adhesive strips rated for your frame weight. They remove cleanly without leaving holes or paint damage.
How do I plan and design a cohesive wall decor layout?
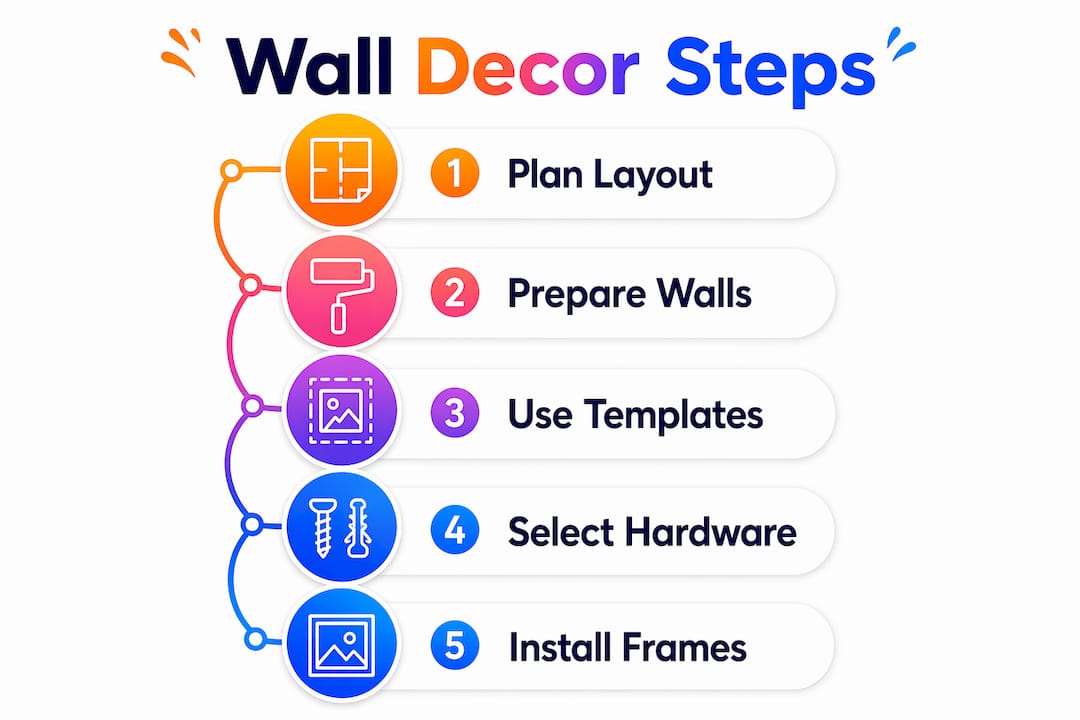
Layout planning on the floor is the single biggest factor separating amateur results from a high-end look. Planning gallery wall layouts on the floor before making holes gives you the freedom to rearrange pieces five or more times until the composition feels right. Skipping this step is the most common reason walls end up with too many holes and uneven spacing.
Five layout styles work for most rooms:
- Grid: Uniform frames in equal rows and columns. Clean and modern.
- Salon style: Mixed sizes arranged densely, edge to edge. Eclectic and layered.
- Horizontal line: Frames aligned along a single central axis. Minimal and structured.
- Center anchor: One large piece in the middle, smaller pieces radiating outward.
- Shape fill: Frames arranged to fill a geometric shape like a circle or rectangle.
Once you choose a layout style, unify the display by repeating one element throughout. That could be a consistent frame finish (all black, all natural wood), a shared mat color, or a limited color palette pulled from the artwork itself. Repeating one visual element ties mixed sizes and subjects together without making the wall feel rigid.
Consistent spacing of 2–3 inches between frames creates a polished, cohesive appearance. For dense salon-style arrangements, tighten that gap to 1.5–2 inches. Anchor the center of the entire arrangement at 57–60 inches from the floor to align with average eye level.
Pro Tip: Photograph your floor layout before moving anything to the wall. That photo becomes your reference during installation when pieces are no longer side by side.
The paper template method is the professional standard for transferring your floor plan to the wall. Trace each frame onto kraft paper, cut it out, and label the back with the frame name and hook placement. Tape the templates to the wall with painter’s tape and step back to assess the full composition before committing to a single nail.
What are the essential steps for installing wall decor correctly?
Execution follows planning. Work through these steps in order to avoid the most common installation mistakes.
-
Clean, patch, and prime the wall. Wipe the surface with a damp cloth to remove dust and grease. Fill any existing holes with patching compound, sand smooth, and apply a thin coat of primer where needed. Surface preparation reduces uneven paint and prevents hanging hardware from failing over time.
-
Tape templates to the wall. Use your labeled kraft paper cutouts and painter’s tape to recreate the floor layout on the wall. Step back from across the room to confirm the arrangement reads well at distance. Adjust any templates that feel off before marking a single nail spot.
-
Mark nail placement precisely. For wire-backed frames, nail placement requires calculating eye level (57 inches) plus half the frame height, minus the wire drop distance. Ignoring the wire drop is the most common reason artwork hangs lower than intended. Mark each spot with a small pencil dot through the template.
-
Hang the anchor frame first, then work outward. Start with the largest frame as your anchor piece, centered at eye level. Use a level on every subsequent frame. Place cardboard spacers between frames to maintain consistent gaps as you work outward from the center.
-
Remove templates and add bumpers. Peel away the kraft paper templates after each frame is hung. Press adhesive rubber bumpers onto the bottom two corners of every frame. Adhesive bumpers prevent frames from tilting and shifting after installation, which is the most common complaint after a gallery wall is complete.
The three mistakes that ruin most DIY installations are hanging too high, skipping templates, and using hardware that cannot support the frame weight. All three are avoidable with the steps above.
Pro Tip: When painting around your frames or touching up accent walls, remove painter’s tape at a 45-degree angle while the final paint coat is still slightly damp. This prevents the tape from pulling dried paint and leaves a sharp, clean edge.
How can I add personal touches and fix common wall decor problems?
A gallery wall does not have to be all framed prints. Mixing formats adds depth and personality that a uniform grid cannot achieve. Consider these customization ideas:
- Hang a woven textile or macramé piece alongside framed art for texture contrast.
- Add a small shelf to hold a plant or sculptural object within the gallery arrangement.
- Include a mirror to reflect light and create the illusion of more space.
- Mix vertical and horizontal frames to create visual rhythm across the wall.
- Rotate one or two pieces seasonally to keep the display feeling current without a full redesign.
Wall decor is a living, evolving part of a home. Seasonal rotations and personal storytelling keep a gallery wall dynamic rather than static. Swapping one piece every few months costs nothing and refreshes the entire room.
When problems appear after installation, most have straightforward fixes:
- Crooked frame: Check whether the wire is centered on the frame. An off-center wire causes consistent tilting. Reposition the hook slightly to compensate.
- Uneven spacing: Cut a cardboard strip to your target gap width and use it as a physical spacer while rehinging adjacent frames.
- Frame slipping: Add adhesive bumpers to all four corners, not just the bottom two, for heavier pieces.
- Hardware pulling from wall: The frame exceeds the hardware’s weight rating. Switch to a wall anchor or locate the nearest stud.
For wall art size selection guidance by room, the general rule is that artwork should cover 60–75% of the available wall width above furniture. A piece that is too small reads as an afterthought regardless of how well it is hung.
Key Takeaways
Successful wall decor requires planning the layout on the floor, using paper templates on the wall, and hanging from the anchor frame outward at a consistent eye-level height of 57–60 inches.
| Point | Details |
|---|---|
| Plan on the floor first | Arrange all frames on the floor and photograph the layout before touching the wall. |
| Use paper templates | Trace each frame on kraft paper and tape to the wall to confirm placement before nailing. |
| Center at eye level | Anchor the arrangement at 57–60 inches from the floor for the best viewing height. |
| Calculate wire drop | Subtract wire drop distance from your nail mark to prevent artwork from hanging too low. |
| Add adhesive bumpers | Press bumpers onto frame corners after hanging to prevent tilting and shifting over time. |
Why I think most people hang wall art in the wrong order
People almost always start by picking up a hammer. That instinct costs them two hours of patching holes and rehanging. Every time I have watched someone skip the floor planning step, the wall ends up with the largest piece hung too high and everything else arranged around that mistake.
The paper template method feels like extra work until you do it once. After that, you will never hang a gallery wall without it. The ability to step back and see the full composition before committing to a single nail is not a shortcut. It is the actual process.
The other thing most guides get wrong is treating wall decor as a finished project. A gallery wall is not a renovation. It is closer to a bookshelf: something you update as your taste, your collection, and your life change. The walls I find most interesting always have one piece that does not quite match the rest. That tension is what makes a space feel lived in rather than staged.
Imperfection is not a failure of execution. A slightly mismatched frame or an unexpected textile in a row of prints is what makes a wall yours. The goal is not a showroom. The goal is a room that tells your story.
— Shlomo
Colormelt’s wall art collection for your next project

Finding the right piece to anchor your gallery wall is often the hardest part of the whole process. Colormelt’s wall art collection covers abstract canvas prints, metal wall art, and bold cyclone and weave designs built to hold their color over time. Each piece ships ready to hang, which means you can move straight from planning your layout to placing your anchor frame. If you want a statement piece that works as a center anchor, the abstract canvas prints and metal weave designs are strong starting points for modern and contemporary rooms.
FAQ
What height should I hang wall art?
Center your wall art or gallery arrangement at 57–60 inches from the floor. This aligns with average eye level and is the standard used by professional galleries.
How far apart should frames be in a gallery wall?
Space frames 2–3 inches apart for a standard gallery wall. Tighten spacing to 1.5–2 inches for a dense, salon-style arrangement.
How do I stop frames from going crooked after hanging?
Press adhesive rubber bumpers onto the bottom corners of each frame after hanging. For persistent tilting, check whether the hanging wire is centered on the frame and reposition the hook if needed.
Do I need to find a stud to hang wall art?
Not always. Adhesive strips handle frames under 5 pounds, and hollow wall anchors support frames up to 50 pounds without a stud. Use a screw into a stud only for frames exceeding 50 pounds.
What is the paper template method for gallery walls?
The paper template method involves tracing each frame onto kraft paper, cutting it out, and taping the cutouts to the wall before nailing. It lets you adjust the full composition multiple times without making holes.