
Modern Wall Art Workflow: Your Step-by-Step Guide
Most people pick wall art the same way they pick a random item off a clearance rack. Something catches their eye, they buy it, hang it crooked, and wonder why the room still feels off. A deliberate modern wall art workflow changes that entirely. Instead of guesswork and regret, you get a repeatable process that covers scale, style, sourcing, and placement before a single nail goes into the wall. Whether you’re decorating your own home or managing art for a client, this guide gives you exactly that process.
Table of Contents
- Key Takeaways
- Your modern wall art workflow starts with preparation
- Sourcing, selecting, and displaying art step by step
- Managing and maintaining your collection over time
- Common mistakes that derail a good art workflow
- My honest take on making this process work
- Find the right piece without the guesswork
- FAQ
Key Takeaways
| Point | Details |
|---|---|
| Measure before you shop | Apply the two-thirds width rule to furniture to set scale before selecting any piece. |
| Match style to your space | Analyze your existing color palette and decor style so new art creates harmony, not conflict. |
| Visualize before hanging | Use digital mockup tools to preview arrangements and avoid costly placement mistakes. |
| Hang at eye level | Center artwork 57 to 60 inches from the floor for consistent, comfortable visual balance. |
| Build in flexibility | Use adjustable hanging systems so your collection can evolve without wall damage. |
Your modern wall art workflow starts with preparation
Before you browse a single gallery or scroll one website, you need a clear picture of your space. Literally. Pull out a tape measure and note the dimensions of each wall you want to fill, then record the width of the furniture sitting below it.
There’s a well-established principle worth following here: artwork width should be roughly two-thirds the width of the sofa or console beneath it. So if your sofa is 84 inches wide, you’re looking for a piece or grouping that spans about 56 inches. Ignore this and even a beautiful piece will look oddly small or aggressively large in the space.
Beyond measurements, analyze your existing decor style. Are your furnishings clean-lined and minimal? A painterly abstract in deep jewel tones might compete rather than complement. Do you have warm wood tones throughout the room? That context calls for art that echoes warmth rather than fighting it with cold metallics. Write this down like a brief for yourself.
Here’s a practical checklist for your space assessment:
- Wall dimensions: Height and width of every target wall
- Furniture reference points: Width of sofas, beds, consoles, and dining tables
- Dominant colors: Pull two or three swatches from your existing palette
- Lighting conditions: Natural direction and quality of light at different times of day
- Decor style: Label it clearly (minimalist, mid-century, eclectic, maximalist)
- Budget range: Know your ceiling before you start comparing prices
Lighting deserves more attention than most people give it. A piece that looks vivid in a north-facing room can wash out in direct afternoon sun. If your wall gets strong direct light, prioritize fade-resistant art materials to protect your investment over time.
Pro Tip: Photograph each wall at the time of day you spend the most time in the room. The photo shows you what the space actually looks like rather than what you remember it looking like.
Sourcing, selecting, and displaying art step by step
Once your space brief is ready, you move into execution. This is where the wall art selection workflow becomes a real competitive advantage. Having a structured process here prevents the analysis paralysis that comes from staring at thousands of options online.
-
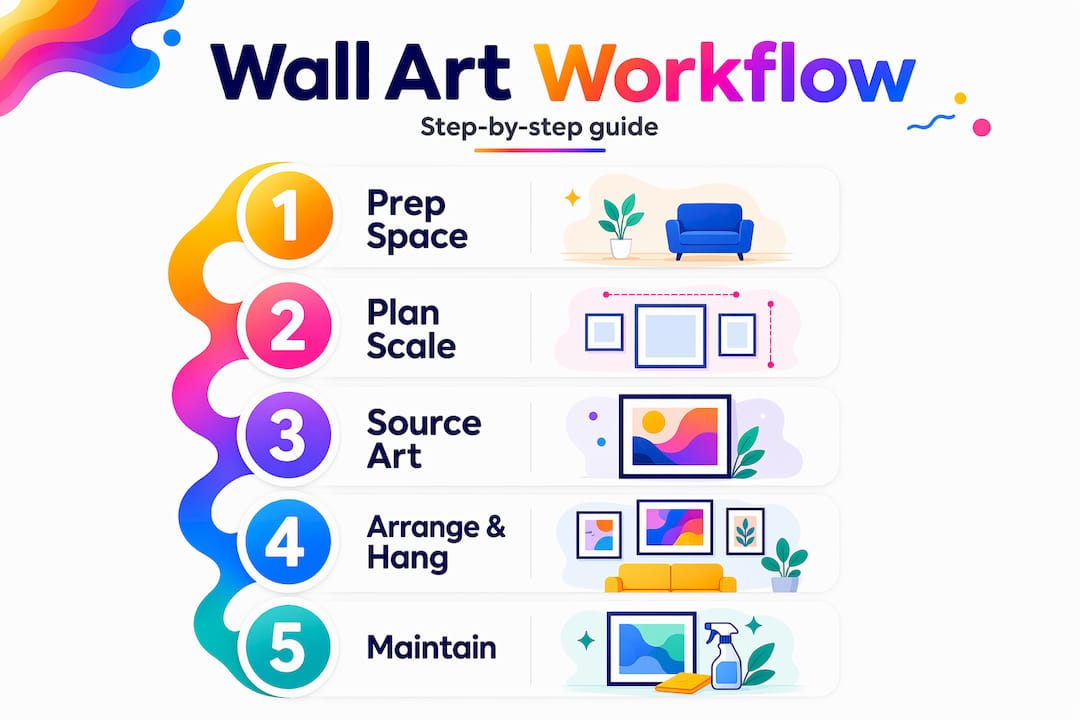
Define your visual direction. Before opening a browser, decide whether you want one large focal piece, a curated pair, or a small gallery arrangement. Current wall art trends lean heavily toward fewer, larger, more impactful pieces over crowded gallery walls. One well-chosen piece with genuine visual weight reads more confidently than seven small prints scattered across a wall.
-
Source from the right places. Print-on-demand platforms let you access a wide range of styles at approachable prices. Photography prints range from $25 to $400 on many platforms, with discounted sample orders often available for first-time buyers. For contemporary abstract work, curated e-commerce collections offer consistent quality control that browsing a general marketplace cannot guarantee.
-
Choose your print type deliberately. Canvas, acrylic, wood, and framed paper all carry different visual weight. Canvas feels warm and textural. Acrylic prints are sharp and luminous, great for high-contrast modern spaces. Wood prints add an organic quality that works well in spaces with natural materials. Match the medium to the mood you mapped during preparation.
-
Mockup the arrangement before anything goes on the wall. Digital visualization tools let you preview scale, color impact, and spatial balance before committing. At minimum, cut paper templates to the exact size of each piece and tape them to the wall. Live with the paper for a day. You will catch problems that no amount of mental visualization will surface.
-
Hang at the right height. Artwork center should sit 57 to 60 inches from the floor, which corresponds to average eye level when standing. When hanging above furniture, aim for 6 to 8 inches of clearance between the top of the piece and the bottom of the art. This keeps the art connected to the furniture rather than floating up the wall.
-
Use the right hardware. The weight of your piece determines your hardware. Canvas prints on stretcher bars are lighter than framed works behind glass. For heavier pieces, anchor into wall studs. For lighter work, adhesive strips rated to the appropriate weight save walls and make future rearranging much easier.
Pro Tip: When hanging a gallery grouping, lay all the pieces on the floor first and photograph the arrangement from above. That photo becomes your reference map when you transfer the layout to the wall.
Managing and maintaining your collection over time
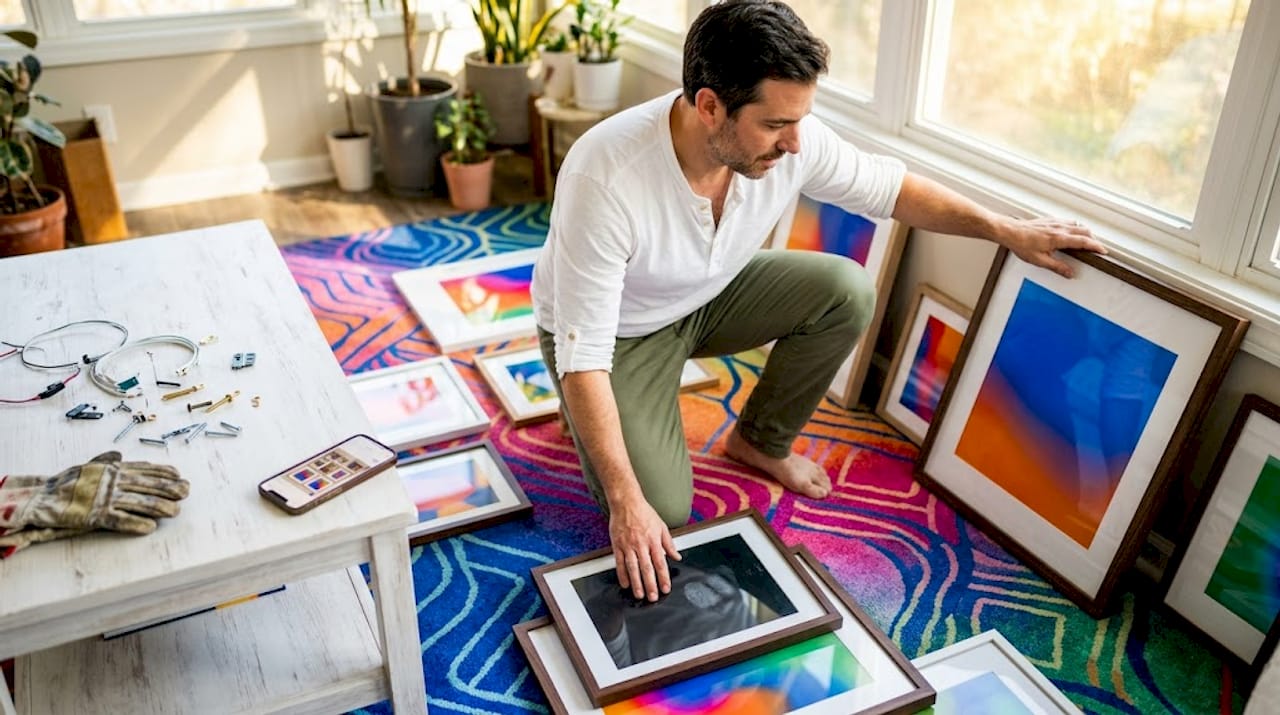
A good contemporary wall art process does not end at installation. Your taste will change. Your furniture will change. The best collections are ones you can adapt without starting from scratch.
Flexible hanging systems are worth the upfront investment. Picture rail molding, cable systems, and track-mounted hooks all allow you to shift pieces without adding new holes to your walls. This matters especially if you rotate seasonal pieces or want to try a piece in multiple rooms before committing. Intentional art placement increasingly favors adaptability over permanence.
Caring for different materials is not complicated but does require some attention:
- Canvas prints: Dust with a soft, dry cloth. Keep out of direct prolonged sunlight to prevent fading. Avoid humid rooms like bathrooms unless the piece is specifically treated.
- Acrylic prints: Use a microfiber cloth. Avoid ammonia-based cleaners, which can cloud the surface.
- Wood prints: A lightly dampened cloth removes surface dust. Avoid soaking the material or placing near heat sources.
- Framed works behind glass: Clean the glass with a lint-free cloth and a gentle glass cleaner applied to the cloth, never sprayed directly onto the frame.
Tracking your collection is a habit worth building early. A simple spreadsheet with each piece’s title, dimensions, purchase price, source, and hanging location gives you a reference when you need to replace hardware, insure valuable pieces, or plan future purchases against a budget.
Digital workflow tools are also expanding what’s possible in art curation. Platforms now use computer vision to match art to interior mood and dimensions, making the selection process faster and more personalized than ever.
The best art collections are living things. They grow and shift with you. Build systems that support change rather than resist it.
Common mistakes that derail a good art workflow
Even with a solid process, certain mistakes appear again and again. Knowing them ahead of time costs you nothing.
| Mistake | What goes wrong | Fix |
|---|---|---|
| Ignoring scale rules | Art looks lost or overwhelming against furniture | Apply the two-thirds rule before shopping |
| Color mismatches | New piece clashes with room palette | Pull colors from existing decor before selecting |
| Overcrowding walls | Visual fatigue, no focal point | Follow the trend toward fewer, larger pieces |
| Hanging too high | Art feels disconnected from the room | Center at 57 to 60 inches from the floor |
| Skipping visualization | Buyer’s remorse after installation | Use paper templates or digital mockup tools |
Ignoring scale and color context are the two most common culprits behind rooms that feel visually chaotic despite having art on every wall. The fix is almost always going back to the preparation step and doing the work that was skipped.
Overcrowding deserves special mention. The impulse to fill every inch of wall space usually produces the opposite of what you want. Empty space around a piece gives it room to breathe and tells the viewer where to look. Art that competes for attention with five neighbors loses that competition every time.
Pro Tip: If a wall feels underfilled after you hang your piece, resist the urge to immediately add more. Live with it for two weeks. More often than not, the space grows on you.
My honest take on making this process work
I have seen people spend weeks browsing art and still end up with walls that feel accidental. The problem is never the art itself. It’s the absence of a framework before the shopping starts.
What I’ve learned from working through this process repeatedly is that the preparation phase is where most people shortchange themselves. They skip the measurements, skip the style analysis, and go straight to browsing. Then they wonder why nothing feels right. The two-thirds rule and the 57-inch hanging height are not arbitrary design rules. They reflect how human vision naturally processes space, and respecting them makes rooms feel resolved even when the art is modest.
I also think the move away from gallery walls toward intentional focal pieces is genuinely good news for anyone who finds decorating stressful. One great piece, correctly scaled and hung, transforms a room in a way that twelve mismatched prints cannot. Art that transforms your space does not require quantity. It requires intention.
The technology side is worth watching too. Tools that use computer vision to match art to your room’s specific palette and dimensions are getting genuinely useful, not just gimmicky. Traditional slow review cycles slow down creative decisions, and faster iteration tools are helping people move from idea to installed piece with less friction.
— Shlomo
Find the right piece without the guesswork
If you’ve done your prep work and know exactly what your walls need, the next step is finding art that actually fits that brief.
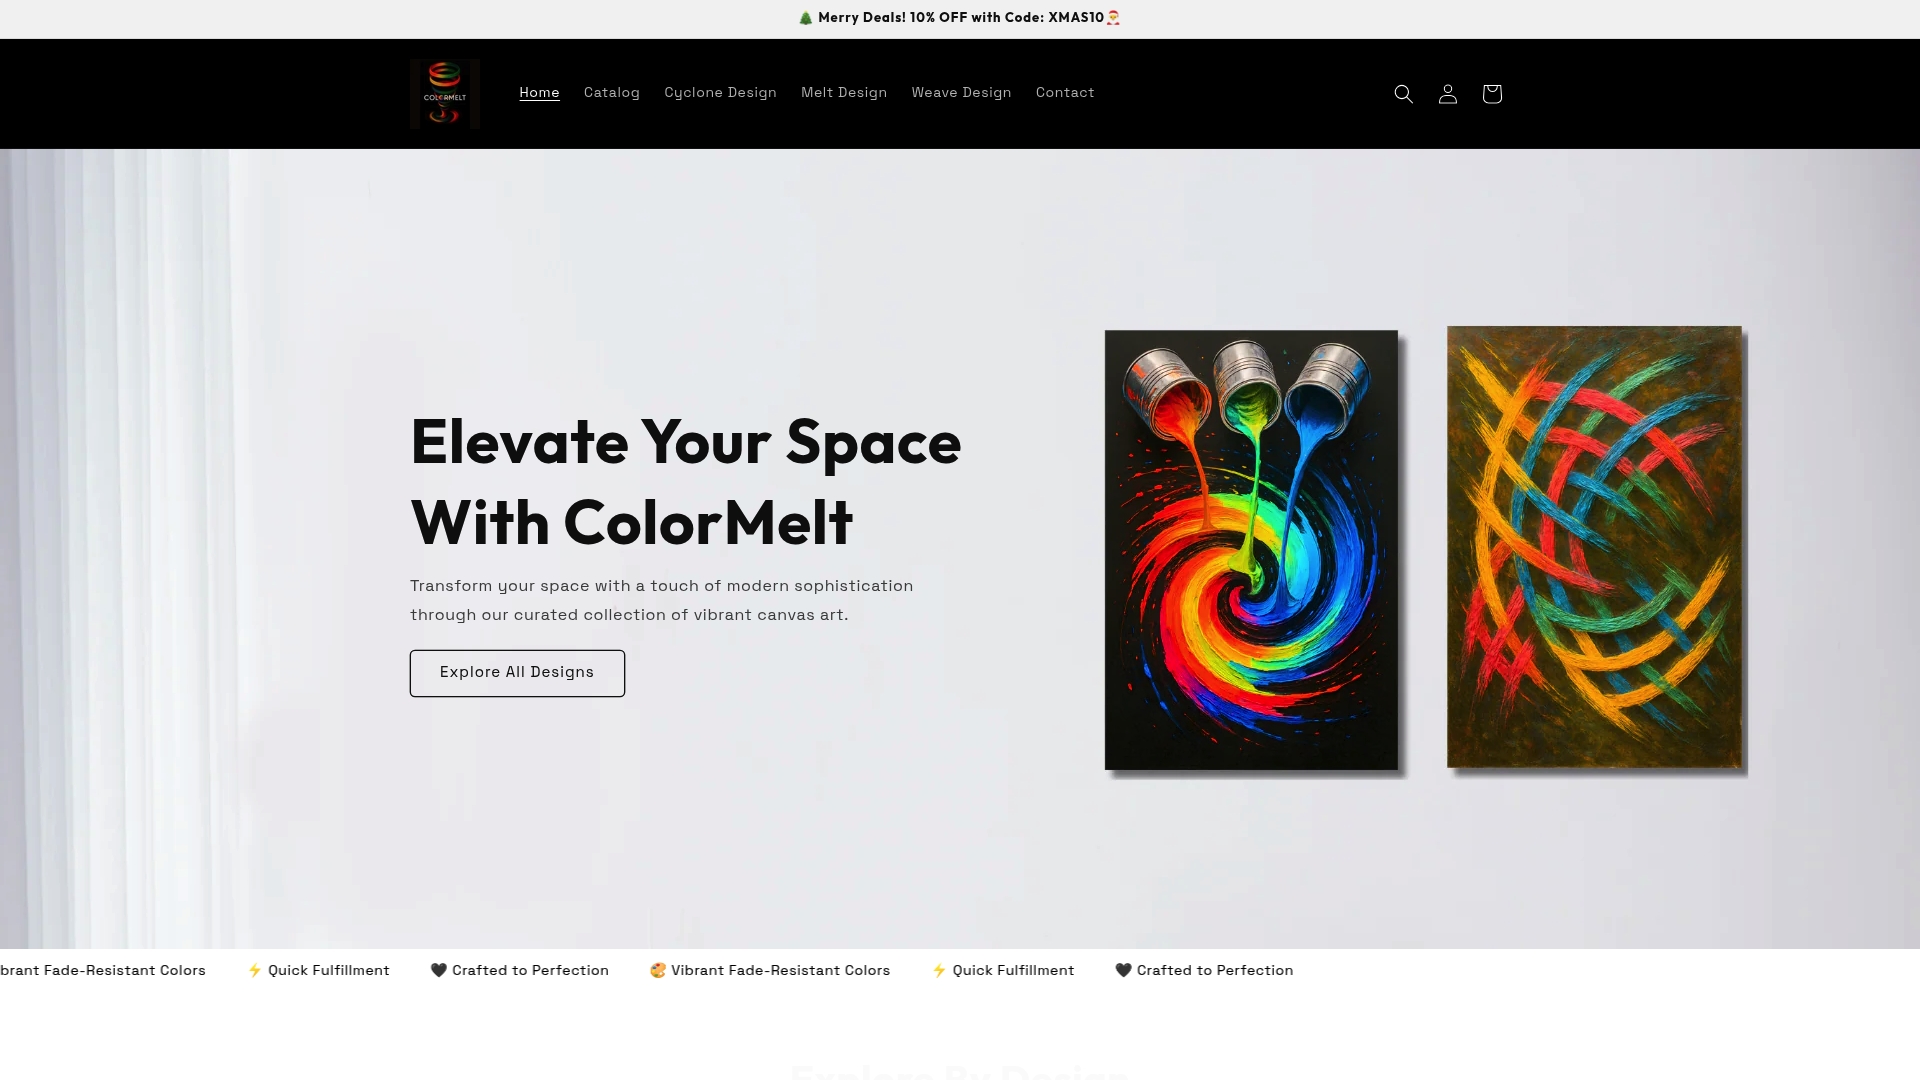
Colormelt’s wall art collection is built around the principles this workflow covers: bold scale, intentional color contrasts, and designs that anchor a room rather than blend into it. From abstract weave patterns to the visually striking cyclone design series, every piece is printed with fade-resistant inks and fulfilled quickly so you can move from decision to installation without a long wait. If you want to take the personalization further, Colormelt’s canvas print styling guide walks you through matching specific print formats to your space before you buy.
FAQ
What is the two-thirds rule for wall art?
The two-thirds rule states that artwork width should be approximately two-thirds the width of the furniture below it. This proportion creates visual balance and prevents art from looking too small or too large relative to the piece it hangs above.
How high should wall art be hung?
Center artwork 57 to 60 inches from the floor, which aligns with average standing eye level. When hanging above furniture, leave 6 to 8 inches of clearance between the top of the furniture and the bottom edge of the piece.
How do I avoid color clashes when choosing modern wall art?
Before shopping, pull two or three dominant colors from your existing furniture and decor. Look for art that uses at least one of those tones as an anchor, whether as a primary color or a subtle accent.
What is the best way to plan a gallery wall arrangement?
Lay all pieces on the floor, photograph the arrangement from above, and use that photo as your reference when transferring the layout to the wall. Alternatively, cut paper templates to scale and tape them to the wall to visualize spacing before making holes.
How often should I update my wall art collection?
There is no fixed schedule, but a seasonal review works well for most people. Assess whether each piece still fits your current style and space, and use flexible hanging systems so swapping pieces takes minutes rather than an afternoon.